EZGO RXV Won’t Move: Fault Codes & Fix Guide
The RXV’s controller blinks a real diagnostic code before it stops moving. This guide decodes it with a verified fault table, then walks the motor brake, throttle, and pack checks in order.
- The RXV controller blinks a real diagnostic code, a documented handheld tool (part 614400) and its RXV error table make it decodable, not a guess.
- The real generation split is Danaher 23-pin controllers (2008-2011) vs Curtis 35-pin controllers (2012+), not “GE vs Sevcon.”
- A motor brake that won’t release even in TOW is the classic RXV no-roll cause, test it before condemning the motor.
- A weak battery reads fine at rest, then sags and trips a fault under load, load-test each 8V battery individually.
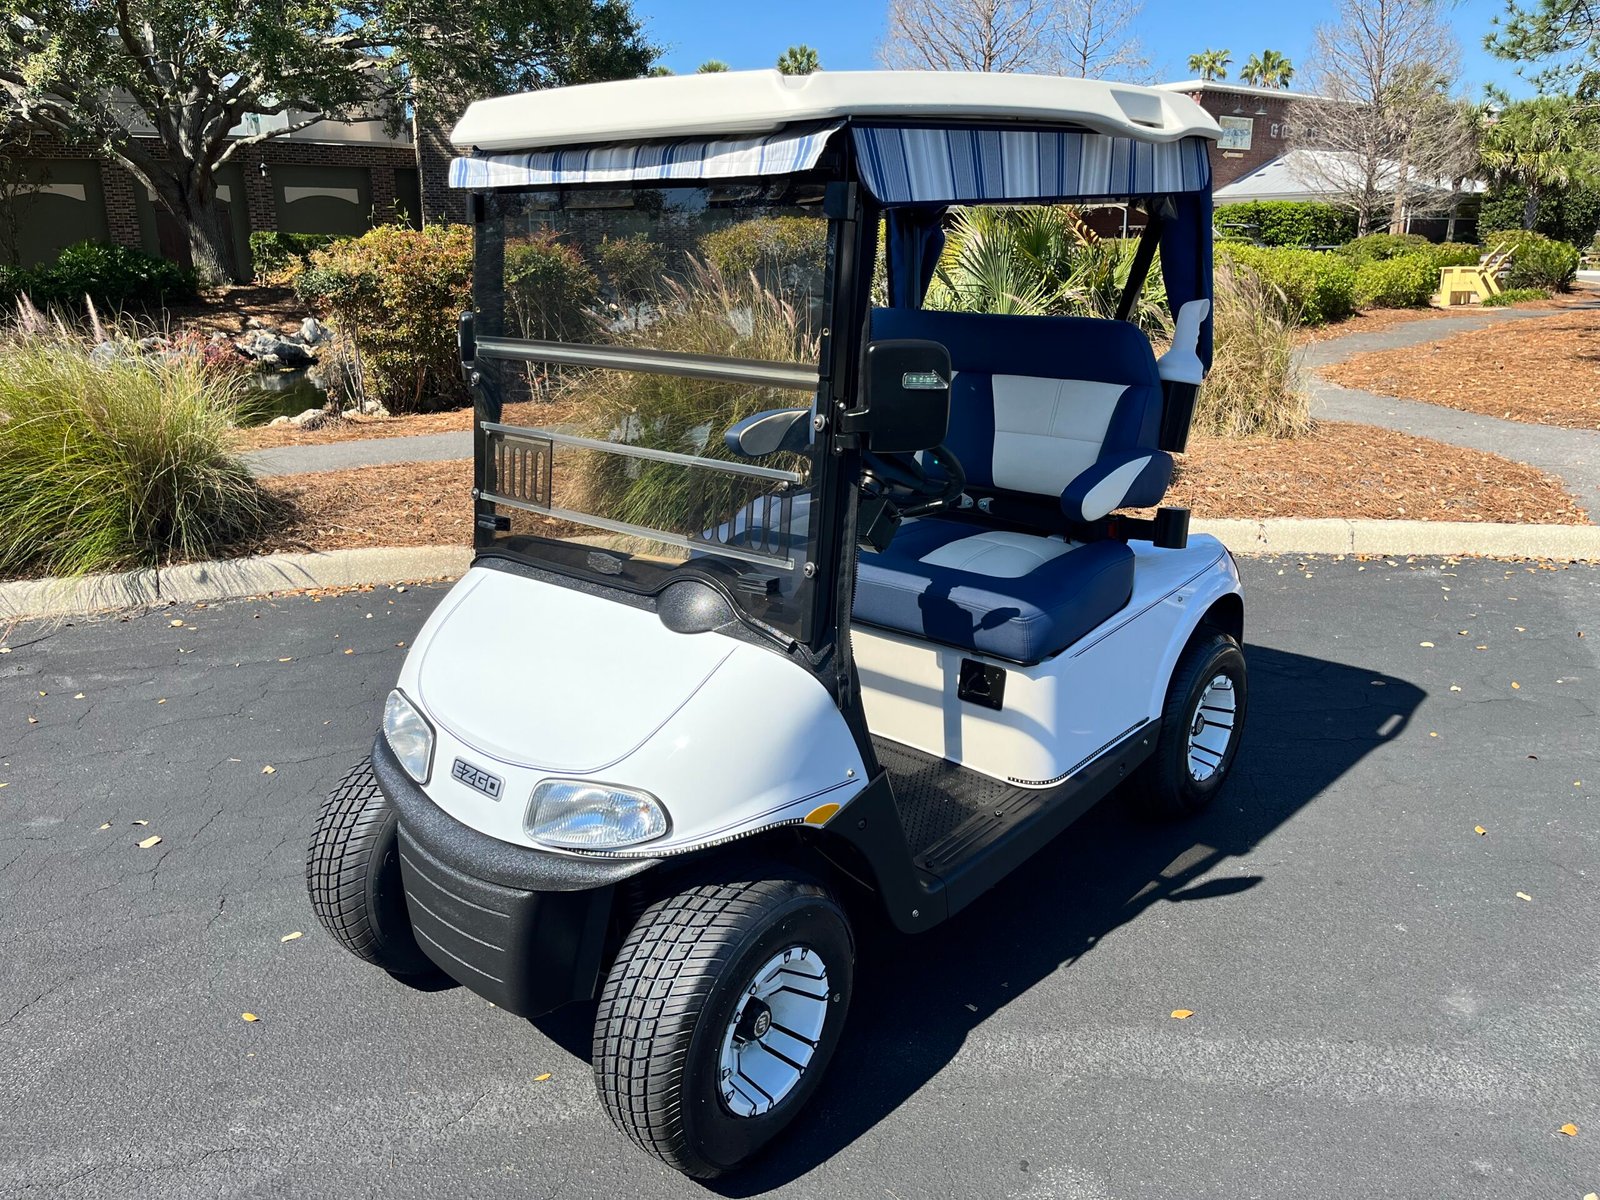
The EZGO RXV is smarter than older carts, and that helps you. When an RXV won’t move, its controller almost always logs a fault and blinks it on the status light. Read that code first with the real documented fault table below, then verify the usual RXV trouble spots: a stuck motor brake, a throttle (ITS) sensor out of range, an HPD sequencing fault, or a sagging battery pack. Most no-drive RXV cases trace to one of these.
01. EZGO RXV Won’t Move? Read the Fault Code First
Unlike older carts that leave you guessing, the RXV controller blinks a diagnostic code on its status LED. Turn the key on, leave the pedal alone, and watch the light: it repeats a pattern of flashes separated by a pause. Count the flashes, that number maps to a specific fault in the documented EZGO chart. Reading the code first can save you an hour of random testing.
If the code points at the drive system generally, the section-by-section checks below narrow it down. Prefer a guided approach? Our golf cart troubleshooter tool walks the same logic by symptom.
02. Common RXV Fault Codes and What They Mean
The RXV does have real numeric fault data. The E-Z-GO handheld diagnostic unit, part number 614400, is documented for the 48V RXV and 2Five, and its troubleshooting guide includes a dedicated RXV error and warning table. The most useful split is not “GE vs Sevcon”, Alltrax’s RXV conversion documentation identifies Gen 1 Danaher 23-pin RXVs as 2008-2011 and Gen 2 Curtis 35-pin RXVs as 2012+. Use the label on your controller, harness connector count, and model year before applying any table.
The table below is a practical RXV no-move subset from the documented RXV diagnostic table. Some entries are handheld numeric codes and some are warning names because the guide reports both. If your cart has an aftermarket controller, use that controller maker’s chart instead.
| RXV Code / Warning | Documented Meaning | First Check on a No-Move RXV |
|---|---|---|
| 8976 | AC over current. | Key cycle once. If it returns, inspect motor U/V/W cables and motor phase resistance before condemning the controller. |
| 9024 | AC short circuit in the controller, motor cable, or motor. | Disconnect U/V/W and check phase-to-phase resistance, then check each phase to motor frame for isolation. |
| 12576 | DC bus timeout. Bus did not reach 24V within 10 seconds after key start. | Check pack voltage, solenoid contacts, power resistor, resistor control module, and high-current cable resistance. |
| 12817 | DC bus high, software detected. Pack voltage over 63V and regen energy if the energy-burn circuit isn’t working. | Verify pack voltage, battery connections, solenoid contacts, power resistor, and resistor control module. |
| 16912 | Motor temperature high. 150C is the documented severe motor-temperature threshold. | Let the motor cool, reduce load or grade, then check motor temperature and thermocouple resistance. |
| 17168 | Heat sink temperature high. Controller temperature at or above 120C. | Let the controller cool. Check brake drag, heavy payload, steep grades, blocked airflow, controller mounting area. |
| 20753 | 15V supply low voltage, often tied to reverse warning alarm short or controller internal supply. | Check reverse alarm resistance and relay resistance before replacing the controller. |
| 20755 | 5V supply low or high voltage. | Look for shorts in the 5V harness, throttle sensor, brake sensor, motor encoder, or SOC meter. |
| 21008 | Current sensor offset calibration error. | Verify U/V/W motor wires and phase resistance. Can become a controller-replacement path after wiring checks. |
| 21520 | Open drain outputs current high. | Check reverse warning alarm, park brake, resistor control, solenoid, and brake relay for shorts. |
| 25104 | EDump failed or startup check failed. Resistor control circuit failure or welded solenoid. | Check the gray wire to the resistor assembly and test for a shorted solenoid coil. |
| 25105 | Throttle sensor error. | Verify 5V output, pedal rest position, throttle sensor voltage from 0.35V to 4.8V, and throttle-switch behavior around 0.85V. |
| 25106 | Reverse alarm test failed or direction error. | If the reverse alarm doesn’t work, test alarm resistance and 48V feed. If it works, test the F/R key switch and wiring. |
| 25107 | Mechanical brake failed. Parking brake failed the startup test. | Try the push test, unplug the motor-brake harness, and verify brake coil resistance of 27 ohms plus or minus 3 ohms. |
| 25108 | Brake sensor error. | Check 5V supply, brake sensor voltage range, pedal return, and shared 5V devices before buying parts. |
| 33024 | CAN timeout. | Check handheld or CAN connection, run plug, and communication wiring. Cycle the key, then retest. |
| Drive Fault warning | Current error internal to the controller, usually shown with another error. | Troubleshoot the companion error first. Do not replace the controller from this warning alone. |
| BDI Low warning | Battery pack voltage below 25 percent. Documented threshold is at least 42V across the four-battery pack used by that chart. | Charge, load-test each battery, and tighten or replace high-resistance battery cables. |
| Charger Connected warning | Driving is prohibited while the charger is connected. | Unplug the charger and check the charger receptacle for water intrusion or a shorted condition. |
| Throttle Switch Closed warning | Throttle switch closed at key-on, or energy-dump monitoring continuously active. | Release the pedal, check the throttle switch opens, inspect pedal return, floor mat interference, resistor control module. |
Decoding the controller is the modern version of the same skill we use on the bench, and the RXV’s electronics are also why RXV brakes can lock up and need an electronic reset, a closely related RXV quirk worth knowing if your no-drive symptom comes with brake behavior.
03. The Motor Brake: The Classic RXV No-Roll Cause
The RXV uses an electrically released motor brake. When it fails, the cart won’t move under power and, the giveaway test, won’t roll freely even with the tow/run switch in TOW. If you put the switch in tow and the RXV still resists rolling, suspect the motor brake. It’s one of the most common no-drive causes on higher-mileage RXVs and a known weak point.
Before condemning the motor itself, remember that motor problems and brake problems present differently. If you’re weighing a motor swap, read whether golf cart motors are interchangeable first, RXV motors are not a universal fit, and the brake is often the real culprit anyway.
A detail specific to the RXV timeline helps here. The documented aftermarket conversion split is a Danaher 23-pin controller and aluminum resistor panel on 2008-2011 RXVs, then a Curtis 35-pin controller and steel resistor panel on 2012+ RXVs. The electric motor brake sits on the end of the motor across both eras and is fed by a connector that faces heat, moisture, and vibration. Before you spend money, chock the wheels, put the tow/run switch in TOW, and try to push the cart. A healthy RXV rolls freely in tow; if it stays locked, the brake is not releasing, and the cause is usually that connector, a failed brake coil, or a controller not commanding release rather than a bad motor. If testing points to a failed controller, the replacement controller finder lists the controllers that fit your RXV.
04. Throttle (ITS) and HPD Faults
The RXV’s inductive throttle sensor (ITS) has no moving contacts, but its wiring and connector do fail. A throttle fault code, or a cart that powers up but ignores the pedal, points here. Inspect the throttle connector for corrosion and back-out pins, and check the harness for chafing near the pedal pivot.
HPD (High Pedal Disable) sequencing faults are even simpler: the controller refuses to engage if it thinks a pedal was already down at startup. A floor mat bunched under the pedal, a sticky throttle return, or a brake pedal not fully releasing all trigger it. Clear the obstruction, let both pedals rest, cycle the key, and the fault often clears itself.
05. Battery Pack and Connections
A weak pack is the great impersonator: it reads fine at rest, then sags under load and trips a voltage fault the instant you press the pedal, leaving an RXV that won’t move. Load-test each battery individually, one bad cell in one battery drags the whole 48V string down. Then inspect every cable lug for corrosion and tightness, since a single high-resistance connection causes the same sag. For model-specific wiring diagrams and fault-code charts, EZGO’s official owner’s manuals and guides are the authoritative source by year.
Know your pack layout when you test. Standard 48V RXVs run six 8-volt batteries in series, so a single weak battery only pulls the resting voltage down about a volt, which is easy to overlook, yet under load that same battery sags far enough to trip the controller and stop the cart cold. Test each 8V battery individually under load rather than trusting the pack total, and pay attention to the battery nearest the controller and the main negative, where heat and vibration make loose or corroded lugs most likely on a hard-used RXV.
Read the controller’s blink code first against the documented handheld chart, then check the motor brake (no roll in tow), throttle/ITS, HPD sequencing, and pack under load, in that order. Fix the system the code and tests point to, not a guess.
All of the checks above assume the fault is electrical. If the motor spins while the cart stays still, the electrical side has already proved itself and the break is mechanical, which is covered in the guide to a golf cart that will not move while the motor spins.
Frequently Asked Questions
How do I read the fault code on an EZGO RXV?
Turn the key on, leave the pedal alone, and watch the status LED. It blinks a repeating pattern of flashes separated by a pause, count the flashes and match them against the documented RXV fault table for your controller generation (Danaher 23-pin 2008-2011, or Curtis 35-pin 2012+).
Why won’t my EZGO RXV roll even in tow mode?
If the RXV resists rolling even with the tow/run switch in TOW, the electric motor brake is not releasing. This is one of the most common no-drive causes on higher-mileage RXVs and usually traces to a corroded two-wire brake connector, a failed brake coil, or the controller not commanding release.
What is an HPD fault on an EZGO RXV?
HPD (High Pedal Disable) is a sequencing fault where the controller refuses to engage because it thinks a pedal was already pressed at power-up. A floor mat bunched under the pedal, a sticky throttle return, or a brake pedal not fully releasing all trigger it. Clear the obstruction, let both pedals rest, and cycle the key.