
EZGO RXV Brakes Locking Up: Causes and Electronic Brake Reset Guide
The RXV’s electromagnetic IntelliBrake clamps shut the moment its controller senses a fault. Here is why it locks, the exact pedal-reset sequence that clears it, and how to test the motor brake coil before you replace anything.
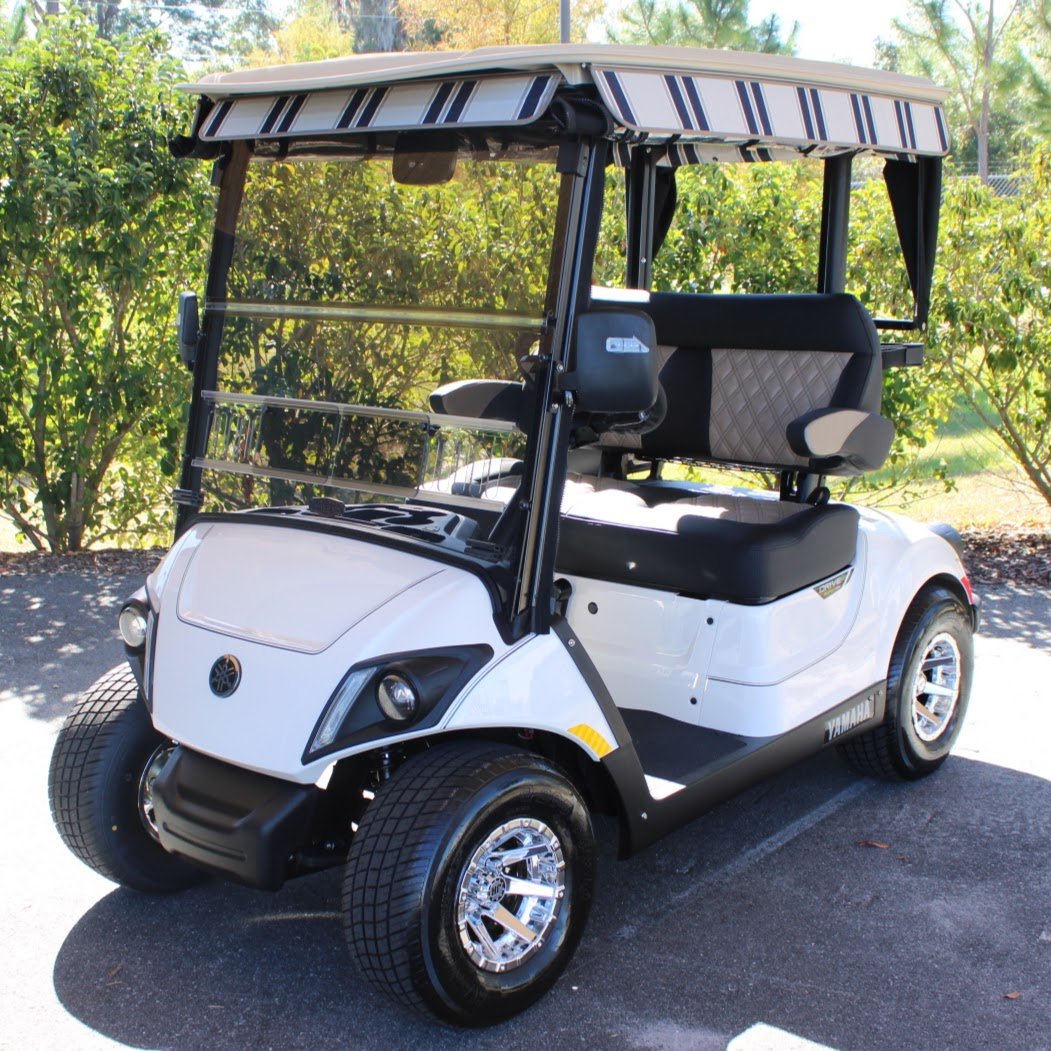
- EZGO RXV brakes locking up is a built-in safety failsafe: the brake clamps by default and only opens when the controller feeds voltage to the coil.
- Run the electronic pedal reset first. It clears High Pedal Detect (HPD) and other soft faults in under a minute.
- If the reset fails, test the brake coil with a multimeter. The E-Z-GO service specification is 27 ± 3 ohms, so roughly 24 to 30 ohms is healthy.
- Never drag a locked RXV. Towing it without the bypass destroys the AC motor and brake assembly.
If you are dealing with EZGO RXV brakes locking up, you are facing a built-in safety failsafe, not just a mechanical glitch. The RXV uses an advanced electromagnetic IntelliBrake system. When the controller detects a fault, like low voltage, a bad sensor, or a failing solenoid, it cuts power, forcing the motor brake to clamp shut instantly. Below is the exact telemetry and reset sequence to unlock your cart.
The Failsafe Logic: Why Do EZGO RXV Brakes Keep Locking Up?
Unlike standard carts that use mechanical drum brakes and steel cables, the EZGO RXV utilizes AC Drive Technology paired with an IntelliBrake system. This means the braking is primarily done via motor regeneration, while a physical Electromagnetic Motor Brake (EMB) acts as the parking brake.
By default, heavy springs inside the motor brake squeeze the friction disc, locking the wheels. To move, the Curtis or Danaher controller must send precisely 48 volts (momentarily) to the brake coil to pull the springs back, then drop to around 36 volts to hold it open. If anything disrupts this electrical handshake, the springs clamp down. This is why EZGO RXV brakes locking up is the cart’s ultimate safety failsafe against runaways.
Primary Failure Vectors (Ranked by Probability)
Extreme Voltage Sag
Symptom: Brakes lock violently when driving up a hill or under heavy acceleration.
Prove it: Clip a multimeter to the main battery pack. If voltage drops below 42V under load, the controller cuts power to the brake.
Failed Motor Brake Coil
Symptom: The cart is completely immobilized. You hear a “click” from the solenoid, but no click from the motor area.
Prove it: Measure the resistance of the brake plug. A burnt coil will read open or very low resistance.
Solenoid Dropout
Symptom: Intermittent locking, or the cart refuses to move after sitting.
Prove it: Use a multimeter to verify the main solenoid is passing full pack voltage to the controller when the key is on.
Corroded Run/Tow Harness
Symptom: Brakes lock up randomly when hitting bumps.
Prove it: Wiggle the wires under the controller cover. A loose connection instantly kills the brake hold voltage.
Tools Required for the Electronic Brake Reset
Do not attempt to pry or force the motor brake off the cart. You only need basic diagnostic tools to test and bypass the system.
- Digital Multimeter: Essential for checking coil resistance and voltage sag.
- Wheel chocks: Required before any brake-release or towing step, the cart can roll the moment the brake opens.
- Socket set & in-lb torque wrench: Needed only if you replace the EZGO RXV motor brake assembly, which is torqued to 53 to 71 in-lb.
- Safety Glasses & Insulated Gloves: You are working near a high-amperage 48V system.
Step-by-Step: The EZGO RXV Electronic Brake Reset
Often, the controller detects an anomaly (like a twitchy accelerator pedal sensor) and throws a High Pedal Detect (HPD) error, locking the cart. Before testing hardware, execute this soft electronic brake reset to clear the controller’s logic cache.
- Try the factory HPD reset first: The RXV owner’s manual states that to reset the controller after a High Pedal Disable you simply place both feet on the floor, then press the accelerator. Do this before anything else, it clears the most common soft fault in seconds.
- Neutralize the System: Ensure the key switch is turned to the OFF position. Move the Forward/Neutral/Reverse (FNR) switch to Neutral.
- Verify Tow/Run Status: Lift the seat and ensure the main switch under the controller cover is in the RUN position.
- Cycle the Pedals (The Reset Code): With the key still OFF, press the accelerator pedal all the way to the floor and release it. Immediately press the brake pedal all the way to the floor and release it.
- Initialize Power: Turn the key to the Forward position. Listen carefully to the rear of the cart.
- Listen for the Handshake: You should hear an initial “click” (the main solenoid engaging) followed a second later by a louder, metallic “clack” from the motor (the EMB releasing). If you hear both, the reset was successful.
If the cart drives normally but locks up again a few miles later, your battery pack is likely failing under load, starving the brake coil of voltage. If you only hear the solenoid click, but the motor remains silent and locked, proceed to the hardware checks below.
Brake-Related Fault Codes Worth Reading First
If you can get a handheld diagnostic or the dash to report a stored code, read it before testing hardware. These are the RXV codes that most often accompany a brake lock-up or a failed startup brake test.
| Code | Meaning | Start Here |
|---|---|---|
| 25107 | Mechanical brake test failed. The park brake did not stop the motor from rotating during the startup test. | With the key OFF, try to push the cart with the tow switch in RUN. It should not move. Then check coil resistance and friction-disc alignment. Can also be triggered by cycling the key off and back to drive while still rolling. |
| 25108 | Brake pedal position sensor out of operating range. | Inspect the brake pedal sensor and its connector before touching the motor brake. |
| 25105 | Throttle sensor error, pedal position out of operational range. | Check the accelerator sensor and wiring. A twitchy throttle signal is a common trigger for a startup fault. |
| 25104 | Direction error, conflicting direction input or a wiring fault. | Return the selector to neutral and inspect the forward/reverse switch and harness. |
Hardware Verification & Emergency Unlock
If the electronic brake reset failed, the physical EMB assembly is likely fried. The motor brake sits on the end of the AC motor, on the passenger side of the rear axle.
Measuring the Motor Brake Coil
Locate the wire harness coming off the motor brake and unplug it. Set your digital multimeter to the Ohms setting and probe the two pins on the brake side of the plug.
| Multimeter Reading | What It Means |
|---|---|
| 24 to 30 ohms (27 ± 3) | Within the E-Z-GO service range. The coil is healthy, so the lock-up is electrical: check pack voltage, solenoid, and the run/tow harness. |
| “OL” (Open Loop) | The internal copper coil is broken. The motor brake must be replaced. |
| Below 24 ohms | Out of service range, shorted or partially collapsed winding. The motor brake must be replaced. |
| Above 30 ohms | Out of service range, high-resistance coil or a corroded connector. Clean and re-probe at the brake side before condemning the assembly. |
Note: If you replace the brake, never overtighten the three mounting bolts. The published range is 53 to 71 in-lb, in inch-pounds, not foot-pounds. Tighten evenly. Overtightening warps the housing, makes the friction disc bind, and causes early failure.
How to Manually Unlock an RXV for Towing
If you are stranded and need to move the cart, you have two options to bypass the locked brake:
- Run/Tow switch (try this first): Turn the key switch to neutral (N) and remove the key. Chock the wheels. Place the run/tow switch in the TOW position. E-Z-GO states the IntelliBrake releases in TOW with the key in neutral, and the vehicle should then roll freely.
- Manual Release of IntelliBrake (total power loss only): If the run/tow switch will not release the brake, the factory procedure is printed on the underside of the controller splash shield. Key switch OFF and tires chocked, then: remove the weather pack seal from the “Auxiliary Power” line, disconnect the “Primary Power” line, and connect Auxiliary Power to Primary Power to release the brake. E-Z-GO warns in capitals that this will cause the vehicle to move immediately if it is not on level ground. After moving the cart, chock the tires, then immediately disconnect Auxiliary Power and reconnect Primary Power for safety and to avoid battery drain, and replace the weather pack seal.
For more insights on controller bypasses and wiring health, check out our guide on Power & Charging Systems.
The Bottom Line
When dealing with EZGO RXV brakes locking up, remember that the IntelliBrake is designed to fail in the locked position. Do not force the cart to move. Start with the electronic pedal reset to clear software faults. If that fails, test your battery pack voltage under load, and finally, measure the motor brake resistance. By methodically checking these parameters, you avoid throwing expensive parts at a cart that simply has a bad battery connection.
Start with the documented High Pedal Disable reset: both feet on the floor, then press the accelerator. If the cart remains immobilized, use a multimeter to verify the motor brake coil resistance against the E-Z-GO service range of 27 ± 3 ohms, roughly 24 to 30 ohms. If resistance is out of that range, replace the motor brake and torque the three bolts evenly to 53 to 71 in-lb, then validate under load.
For official manufacturer wiring schematics, you can reference external resources like the EZGO Owner’s Portal.
Frequently Asked Questions
Why do my EZGO RXV brakes keep locking up?
The RXV’s IntelliBrake clamps by default and is only held open by controller voltage. When the controller detects a fault, such as voltage sag below about 42V under load, a failed brake coil, a solenoid dropout, or a corroded run/tow harness, it cuts power to the brake coil and the springs clamp the wheels. The lock-up is a safety failsafe, not a mechanical glitch.
Can you tow an EZGO RXV with the brakes locked?
No, not normally. Dragging a locked RXV will destroy the AC motor and brake assembly. Turn the key to neutral, chock the wheels, and put the run/tow switch in TOW, which releases the IntelliBrake so the cart rolls freely. If a total power loss stops the switch from releasing it, use the factory Manual Release of IntelliBrake procedure printed under the controller splash shield. E-Z-GO also states not to tow a non-fleet RXV above 5 mph (8 kph), and to tow only with an approved tow bar.
How do I reset the EZGO RXV electronic brake?
Start with the electronic pedal reset to clear controller faults such as a High Pedal Detect (HPD) error. If the RXV stays locked after the reset, test the motor brake coil resistance with a multimeter: an open or very low reading means the coil is burnt out and the brake must be replaced.
