How to Connect a Lithium Battery to a Golf Cart (Step by Step)
A lithium conversion is simpler than a lead-acid pack, once you follow the order: pull the old batteries, mount the pack, wire the mains, and set up a lithium charger. Here is the full sequence, with the real torque and voltage numbers that matter.
- Remove the main negative cable first and reconnect it last, so a slipped wrench has no return path to arc through.
- A 48V lithium pack is usually 51.2V nominal; size it to the controller’s continuous and surge current, not to amp-hours alone.
- LiFePO4 needs a lithium-profile charger (constant current then constant voltage, no equalization). Many 1995 to 2013 Club Cars also need an OBC bypass.
- Every torque, cable gauge, and charge-voltage value belongs to your exact pack’s manual, not to a generic number.
A lithium conversion is one of the biggest upgrades you can make to a cart, and the wiring is simpler than most people expect. A single 51.2V pack replaces six 8V batteries and most of their jumpers, so the job comes down to doing four things in the right order: safely remove the old batteries, mount the new pack, wire the main cables, and set up a lithium charger. Match the pack, charger, cables, and the cart’s charging circuit before the first cable goes on. If you have not picked the pack yet, the Lithium Battery Bundle Finder matches one to your cart and tray first.
Quick answer: Photograph the old wiring, put the cart in Tow, and remove the main negative cable first. Clean and secure the tray, connect the lithium pack with correctly sized cables, then fit the charger and any required charge-port harness or OBC bypass. Reconnect the main negative cable last. The battery maker’s manual controls every torque, voltage, and current value.
Step 1: Safely Remove the Old Batteries
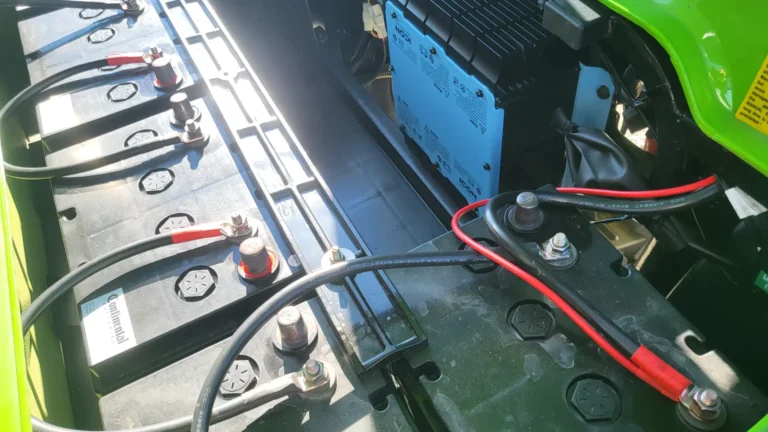
Taking the negative cable off first is electrical, not ceremonial. Once pack negative is isolated, a wrench that brushes the positive terminal and the chassis has no complete return path, so it cannot arc. Turn the key off, select Tow if the cart has a Run/Tow switch, unplug the charger, take off jewelry, and use insulated hand tools. Photograph every cable and label the two vehicle leads before you remove the inter-battery jumpers.
Neutralize any lead-acid residue on the empty tray, rinse carefully, dry it, and repair rust before the lithium case goes in. The cleanup method is covered in the battery corrosion chemistry guide. Do not reuse a cracked hold-down or let a lighter lithium pack sit loose, because a shifting case pulls on terminals and chafes a cable against the frame.
Step 2: Mount the Lithium Pack
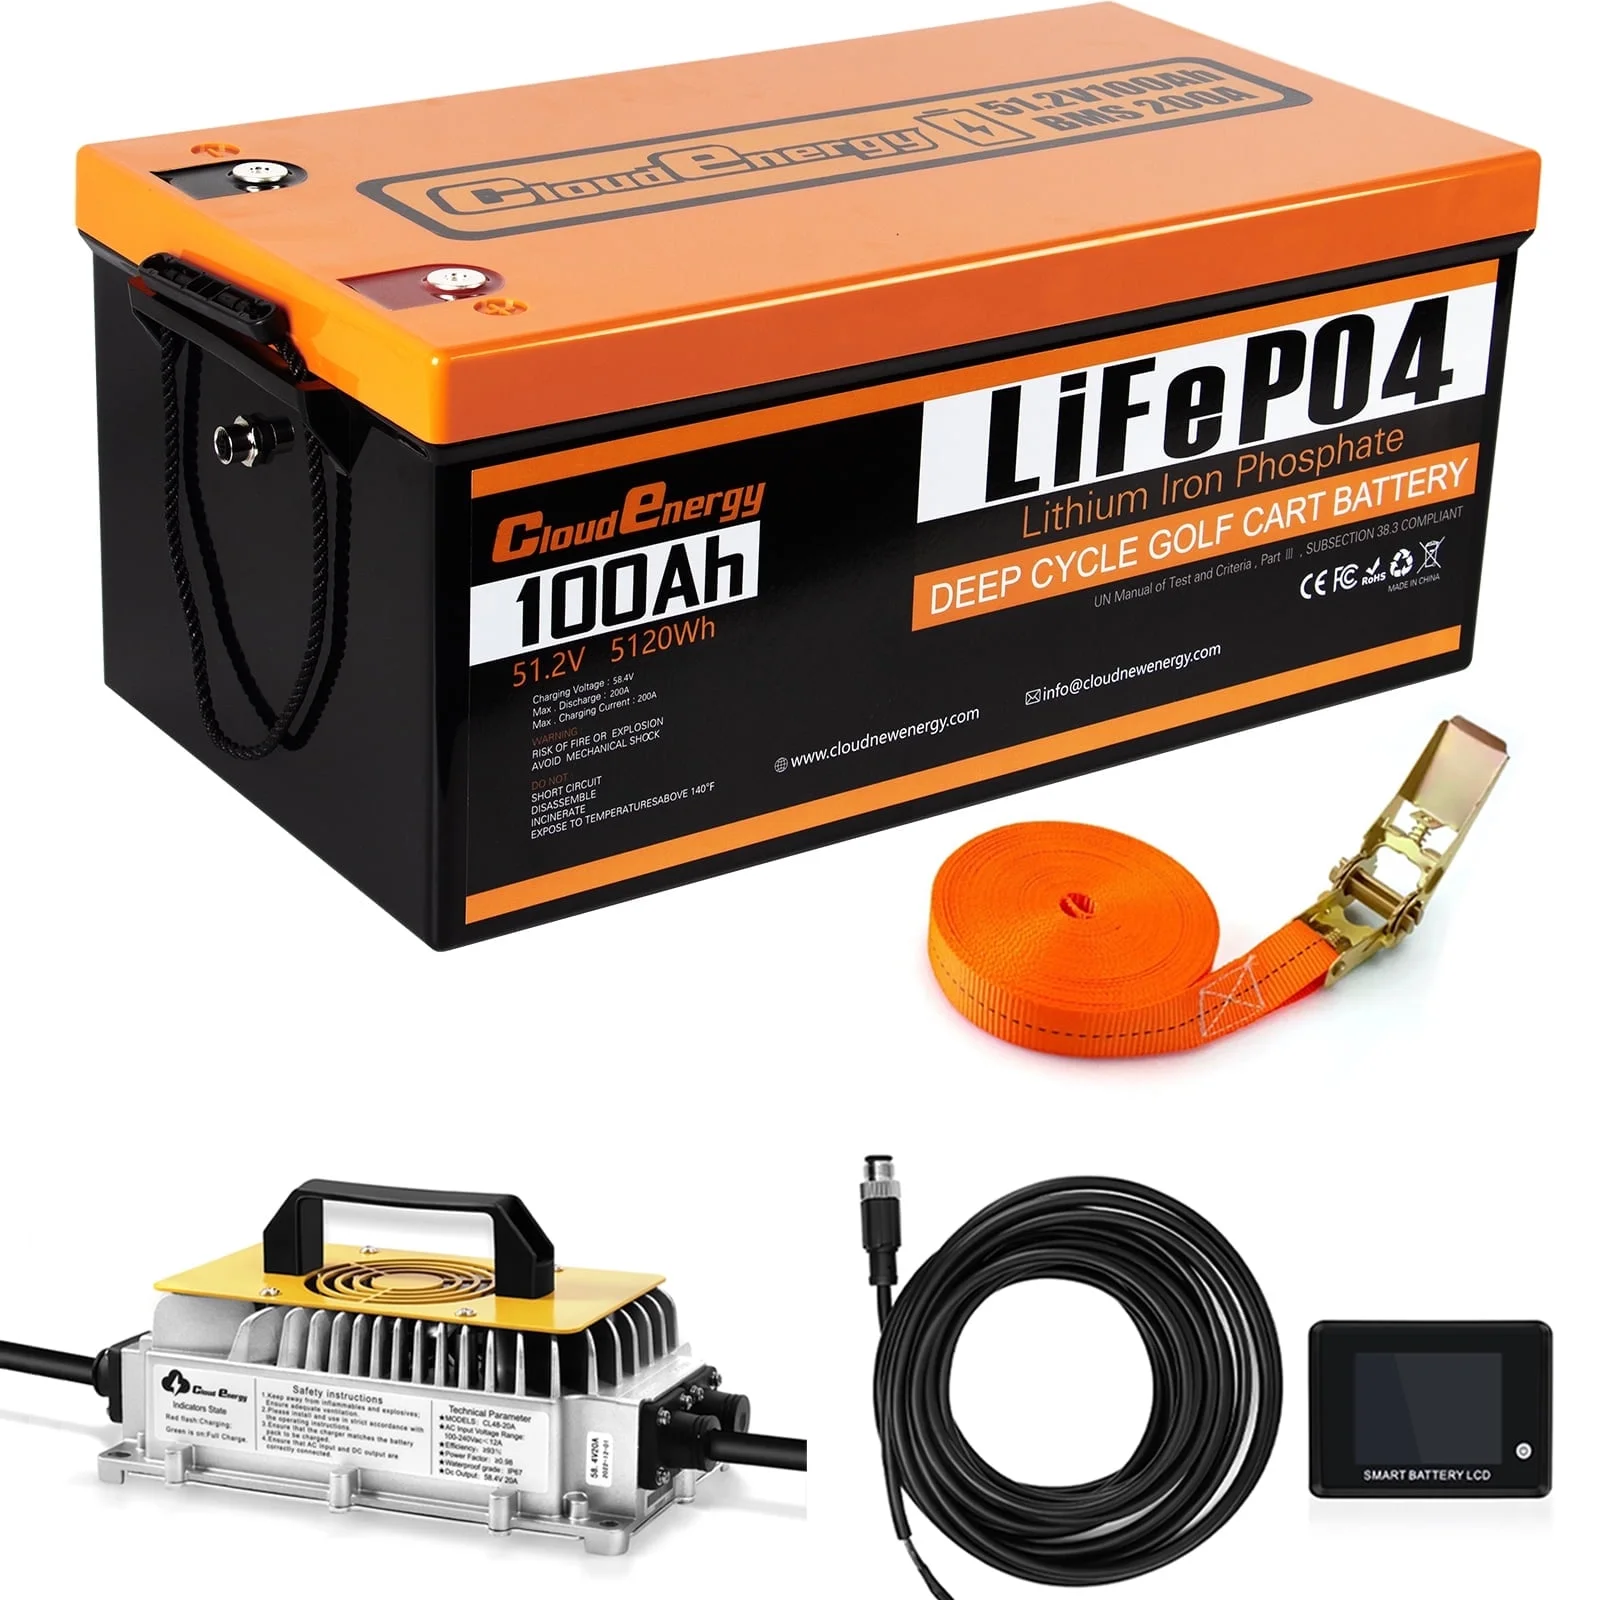
Confirm nominal voltage and available current before you mount anything. A pack sold as a 48V LiFePO4 cart battery is normally 51.2V nominal, but capacity and BMS output vary widely. Epoch, for example, lists its 51.2V 105Ah pack at 5.376kWh with 200A maximum continuous discharge, 300A for 15 seconds, and 700A for 2 seconds. Your controller’s demand has to stay inside the battery’s continuous and surge limits, so a pack should never be chosen on amp-hours alone.
Use the supplied tray or brackets, keep terminals clear of the seat base, and leave the charger the ventilation space its maker requires. A modular lithium set can be wired in parallel or in series depending on the exact product. Allied’s drop-in modules of full system voltage are wired in parallel with 4 AWG to 2 AWG interconnects, and four generic 12V batteries must never be assumed series-compatible. Follow the chosen battery’s approved diagram and verify the count in the lithium battery count guide.
Step 3: Connect the Main Cables
Cable size follows current, length, insulation temperature rating, and acceptable voltage drop, in that order. A short 4 AWG cable may suit one maker’s stock-cart kit, while a 200A continuous pack or an upgraded controller can require 2 AWG or larger under its own installation chart. Never pick a cable just because it fits the terminal. Use tinned copper lugs of the correct hole size, a hex or hydraulic crimp, adhesive heat shrink, and a route that cannot touch a sharp tray edge.
| Verified manufacturer example | Published terminal torque | How to use it |
|---|---|---|
| Trojan OnePack | 80 to 90 in-lb (9.0 to 10.2 Nm) | Use only on the OnePack terminal identified in its manual. |
| Dakota Lithium cart install | 10 ft-lb (13.6 Nm) | Applies to Dakota’s documented cart installation, not every lithium stud. |
| Other pack or adapter post | Use its label or manual | An adapter post can have a lower limit than the battery terminal itself. |
Stack ring terminals with the highest-current vehicle cable closest to the battery contact, then the charger and converter lugs. Allied and Eco Battery both document this order because every extra interface adds resistance. Hold the terminal base if the manual requires it, tighten with a calibrated torque wrench, and skip the impact driver. Connect the main positive first and the main negative last, then measure polarity and pack voltage at the controller side of the main cables before you select Run.
Step 4: Charger and OBC
LiFePO4 uses a constant-current, constant-voltage charge profile. The charger holds current during the bulk stage, then holds voltage while the current tapers, and it does not need a flooded-battery equalization stage or an indefinite trickle. The exact ceiling belongs to the pack. Epoch publishes 58.4V maximum charge voltage and a 40V to 58.4V operating range for one current 51.2V 105Ah pack, while an older Epoch 51.2V 30Ah GC2 manual specifies a lower operating cutoff. That difference is exactly why a generic 58.4V charger or a guessed BMS reset voltage is not safe for every pack.
| Cart charging system | What changes for lithium | Verified check |
|---|---|---|
| Club Car 48V, 1995 to 2013 with active OBC | Allied requires an OBC bypass for its lithium charger. | Identify the OBC and follow the battery or charger maker’s bypass procedure. See the Club Car OBC bypass guide. |
| Club Car 48V, 2014 and newer in Allied’s guide | No OBC bypass is listed for the Allied charger. | Confirm serial, receptacle, and charger harness before ordering. |
| E-Z-GO TXT or RXV, PowerWise-style port | The plug shape does not make a lead-acid charger lithium-safe. | Use the lithium charger’s E-Z-GO harness and approved profile. Allied lists TXT and RXV compatibility. |
| Yamaha G14 to G19, GMAX, Drive, Drive2 | Use the lithium charger’s Yamaha-specific lead or onboard wiring. | Allied lists these platforms without a Club Car-style OBC bypass. |
Lester notes that plug types carry different current ratings and that some Summit Series II Club Car installations need a harness to disable the OBC. Do not move an old PowerWise, PowerDrive, or Yamaha plug onto a charger without verifying the cordset rating and profile. Charger positive goes to system positive and charger negative to system negative, never to a convenient midpoint.
Parts note: Every lithium bundle we stock includes a charger matched to its pack. See lithium bundles
The Safety Checklist
- Before power-up: verify pack voltage, polarity, cable clearance, terminal torque, hold-down security, and the charger profile.
- During the first drive: make a short low-load run, stop, and feel the lugs and cables. Warmth at one connection points to resistance there.
- For 12V accessories: use a correctly rated isolated DC-to-DC converter unless the exact battery manual publishes an auxiliary-output rating.
- For storage: follow the pack maker’s state-of-charge and isolation instructions, and do not assume a lead-acid maintainer is suitable.
Review the ownership trade-offs in the lithium battery disadvantages guide. If cable routing, OBC identification, or controller current cannot be confirmed, stop before energizing the pack and work through the procedures in the golf cart repair guides.
Negative off first, negative on last. Size the battery to the controller’s real current, use the pack-specific terminal torque, fit a true lithium charge profile, and verify the cart’s charge-port logic by platform before the first drive. Do those four things in order and a lithium conversion is one of the cleanest upgrades on the cart.
Frequently Asked Questions
How do you connect a lithium battery to a golf cart?
Photograph the old wiring, put the cart in Tow, and remove the main negative cable first. Mount the lithium pack securely, connect the main positive then the main negative cables to match the original polarity, fit a lithium-profile charger, add an OBC bypass if the platform needs one, and verify pack voltage and polarity at the controller before selecting Run.
Do I need a special charger for a lithium golf cart battery?
Yes. A LiFePO4 pack needs a lithium-profile charger that holds a constant current then a constant voltage and stops, with no flooded-battery equalization stage. An old lead-acid charger can overcharge or undercharge the pack. On many 1995 to 2013 Club Car systems you also need an OBC bypass before the lithium charger will work.
What size cable should connect a lithium pack to the cart?
Cable size follows the real current, the run length, the insulation temperature rating, and the acceptable voltage drop, not the terminal hole size. A short factory-style kit may use 4 AWG, while a 200A-continuous pack or an upgraded controller can call for 2 AWG or larger. Use tinned copper lugs, a proper hex or hydraulic crimp, and adhesive heat shrink.
How tight should the battery terminals be?
Use the value in your pack’s own manual, because it varies by product. Trojan’s OnePack terminal is documented at 80 to 90 in-lb (9.0 to 10.2 Nm) and Dakota Lithium’s cart install at 10 ft-lb (13.6 Nm). Tighten with a calibrated inch-pound or foot-pound torque wrench and never an impact driver, and remember an adapter post can have a lower limit than the battery stud.