How to Patch a Punctured Tubeless Golf Cart Tire
Almost every modern golf cart tire is tubeless, so a nail in the center tread is a fix you can do in minutes without ever pulling the wheel. Here is the trail-side plug method step by step, the one rule that decides whether a puncture is repairable at all, and when a plug is only temporary.
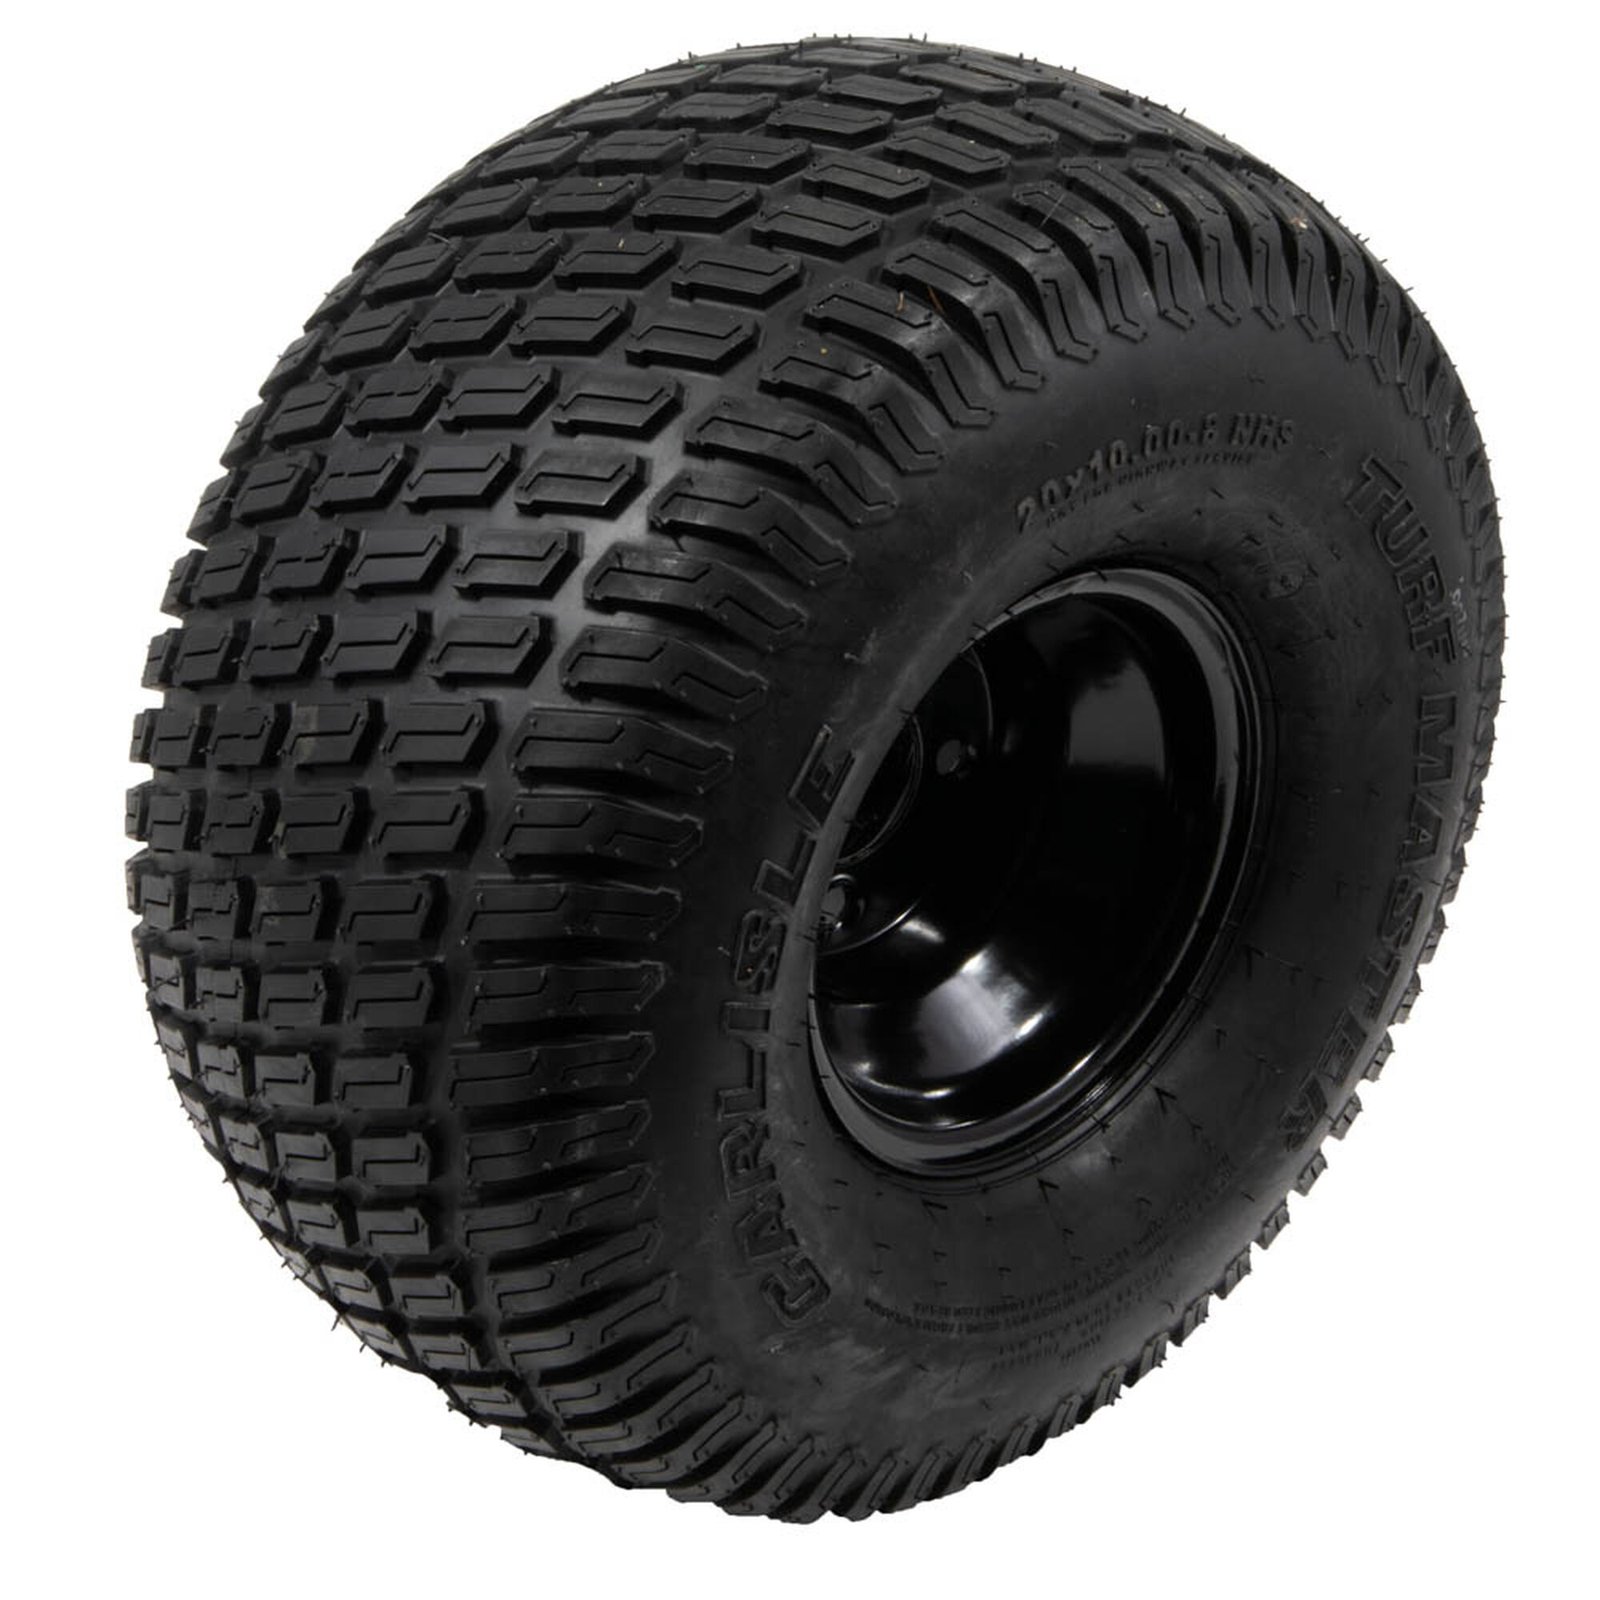
- You can only repair a puncture in the center tread. A sidewall or shoulder hole flexes on every turn and will blow the plug out, so that tire has to be replaced.
- Because golf cart tires are tubeless, a center-tread nail hole can be plugged with the wheel still bolted to the cart. Just roll the tire to expose the hole.
- Ream the hole, coat the plug in rubber cement, drive it in until half an inch shows, then snap the tool straight out. Trim flush and reinflate.
- An on-the-wheel plug is a solid long-term fix for a slow neighborhood cart, but a temporary one for a street-legal or loaded cart. The industry-standard permanent repair dismounts the tire for a plug-and-patch.
Nothing ends a cruise around the neighborhood or a trip to the hunting lease faster than the hiss of a flat. The good news is that nearly every modern golf cart tire is tubeless, meaning the tire seals air directly against the rim instead of relying on an inner tube. Pick up a nail, a deck screw, or a sharp thorn in the tread and you often do not even have to take the wheel off the cart to fix it. This guide walks through exactly how to patch a punctured tubeless golf cart tire in minutes with a standard plug kit, and, just as important, how to tell when a puncture is not safe to plug at all.
If your tire did not go flat from a nail but instead popped off the rim during a hard turn, a plug kit will not help. That is a bead-seat problem, and you will find the fix in our Chassis & Suspension guides instead.
The One Rule: What You Can and Cannot Patch
Before you reach for a single tool, look at exactly where the tire is punctured. This is the decision that matters more than anything else in the repair, because it is the difference between a fix that lasts and one that fails at speed.
A tire plug works by wedging a sticky rubber strip into the hole and letting the stiff belts under the tread squeeze it tight. That squeezing force only exists in the center tread, the flat middle band of the tire that actually touches the ground. The sidewall and the curved shoulder have no belts and flex constantly as the cart turns and carries weight. A plug jammed into a flexing sidewall works itself loose and lets go, sometimes all at once, which is why it can pitch a cart sideways.
So the rule is simple: you can repair a puncture in the center tread only. If a rock or branch sliced the sidewall, or the hole sits on the outer shoulder, the tire is done and needs to be replaced. The U.S. Tire Manufacturers Association sets the same limit for every tire on the road, and adds two more: the puncture has to be smaller than a quarter inch (6mm) across, and two punctures close together do not qualify. When in doubt, replace the tire. A tire is cheap next to a rollover.
The Repair Kit You Need
A basic tire plug kit costs less than a tank of gas and lives happily under the seat. Here is everything the job takes.
- Heavy-duty tire plug kit: includes a T-handle spiral reamer, a T-handle insertion needle, and the sticky rubber strips people call “bacon strips.”
- Pliers or vise-grips: to pull the nail or screw out of the thick tread rubber.
- Rubber cement (vulcanizing fluid): chemically bonds the plug to the tire so the seal is permanent, not just friction.
- 12V portable air compressor: to reinflate the tire once the plug is in. A cart battery or your truck runs it fine.
- Spray bottle of soapy water: to locate the leak before and confirm the seal after.
Find, Extract, and Ream the Hole
Leave the wheel bolted to your EZGO, Club Car, or Yamaha. Put the cart in neutral, or flip the run/tow switch to tow, so you can roll the tire by hand and bring the puncture to the top where you can work on it.
- Find the leak. If the nail is not obvious, spray the tread with soapy water. Escaping air blows a cluster of bubbles right at the puncture. Mark the spot with a bit of chalk or tape.
- Pull the debris. Grip the head of the nail or screw with pliers and pull it straight out. Note the angle it went in. You will drive the plug back in at that same angle so it follows the existing channel.
- Ream the hole. Push the spiral reamer in and work it in and out firmly four or five times. This roughs up the inside of the hole and clears out grit so the cement can grab. Leave the reamer parked in the hole for a moment to slow the air loss while you prep the plug.
Insert the Plug
This is the part that actually seals the tire. Work quickly once the cement is on, because it starts curing on contact with air.
- Thread the needle. Peel one rubber strip off its backing and feed it through the eye of the insertion tool until equal lengths hang off each side.
- Coat it in cement. Smear rubber cement generously over the whole plug. This is what turns a friction fit into a permanent chemical bond.
- Drive it in. Pull the reamer out and immediately push the insertion tool into the hole at the original angle. Press until only about half an inch of plug is still showing above the tread.
- Snap the tool out. Yank the T-handle straight up as fast as you can. The tool is built to slip off the plug, leaving the folded strip wedged and doubled over inside the tire casing.
Trim, Inflate, and Leak-Test
Give the rubber cement two to three minutes to cure. Then trim the excess plug flush with the tread using wire cutters or a sharp knife. Do not tug on the plug while you cut it, or you can pull it back out of the hole.
Hook up the 12V compressor and bring the tire back to its normal running pressure. The correct figure is molded on the sidewall as the maximum, and running pressure sits a few PSI under it. As a rough guide, street and all-terrain tires usually take about 18 to 22 PSI, while soft turf tires run lower, around 12 to 15 PSI, to keep from tearing up grass. When in doubt, use the tire pressure guide for your setup.
Finally, spray the repair with soapy water one more time. No bubbles means a clean seal. Check the valve stem and the bead while you are at it, since those leak too and get blamed on the plug. Recheck the pressure the next morning; a tire that holds overnight is a tire you can trust.
| Tire Type | Typical Running Pressure | Notes |
|---|---|---|
| Street / DOT | 18 to 22 PSI | Firmer for pavement and higher speeds. Never exceed the sidewall max. |
| All-terrain | 15 to 20 PSI | Slightly softer for trail grip; check the sidewall marking. |
| Turf | 12 to 15 PSI | Low pressure spreads the load to protect grass. |
Always confirm against the maximum pressure molded on your specific tire’s sidewall, since size and load rating change the number. See our golf cart tire size guide to read those markings.
When a Plug Is Only Temporary
An on-the-wheel plug is honest, useful work, and for a slow-moving neighborhood or golf-course cart a good plug in healthy tread will usually last as long as the tread itself. It is worth knowing where it sits against the professional standard, though, so you can judge your own situation.
The tire industry considers a repair fully sound only when the tire is taken off the rim, inspected from the inside for hidden casing damage, and sealed with a combination repair: a plug that fills the hole plus a patch bonded over the inner liner. A plug pushed in from the outside skips the internal inspection. On a cart that tops out around 15 to 19 mph that trade-off is minor. On a street-legal cart that runs 25 mph, carries a loaded rear seat, or sees highway-adjacent roads, treat an outside-in plug as a get-home fix and have a shop do a proper dismount plug-and-patch when you can.
One more habit worth keeping: if a tire is bald enough that it keeps collecting nails, plugging it again is throwing good time after bad. Worn tread stops protecting the belts, and each new puncture sits closer to the last. At that point a fresh set is the real fix.
The Bottom Line
Knowing how to patch a punctured tubeless golf cart tire saves you an expensive tow back to the garage over something a five-dollar plug handles. The whole job comes down to one judgment call and a clean technique: confirm the puncture is in the center tread, ream the hole, drive in a cement-coated plug, snap the tool out, trim flush, and reinflate. Leak-test with soapy water and recheck the pressure in the morning. Respect the sidewall rule and know when a plug is only temporary, and a nail in the tread becomes a minor inconvenience instead of a ruined day.
Repair center-tread punctures under 1/4 inch only; replace any sidewall or shoulder damage. Extract the object, ream the hole, drive in a cement-coated plug until half an inch shows, then snap the tool straight out. Trim flush, inflate to the tire’s normal pressure, and leak-test with soapy water. Treat an on-the-wheel plug as permanent on a slow cart, temporary on a fast or loaded one.
Frequently Asked Questions
Can you plug a golf cart tire without taking it off the rim?
Yes. For a small nail hole in the center tread you can push a cement-coated plug in while the wheel stays bolted to the cart, and it will usually hold for the life of the tread. Understand that this outside-in, on-the-wheel plug is a fast trail repair, not the industry-standard permanent fix. The U.S. Tire Manufacturers Association only calls a repair fully sound when the tire is dismounted, inspected from the inside, and sealed with a combination plug and inner-liner patch. For a slow-speed neighborhood cart a good plug is fine long term; if the cart runs street-legal speeds or carries a rear seat, treat the plug as temporary and have the tire dismounted.
What part of a golf cart tire cannot be patched?
You can only repair a puncture in the center tread, roughly the middle two-thirds of the tire face. The sidewall and the curved shoulder cannot be repaired. Those areas flex on every turn, so a plug or patch placed there works loose and blows out. A puncture larger than about one quarter inch (6mm), an angled slice, or two holes close together also fails the repair limit and means the tire has to be replaced.
How long does a golf cart tire plug last?
A properly reamed and cemented plug in healthy center tread typically outlasts the remaining tread life of the tire. The rubber cement chemically bonds the plug to the casing, so it is not a slow leak waiting to happen. Recheck the tire pressure the morning after the repair and again a week later. If it holds pressure overnight both times with no bubbles in a soapy-water test, the plug is doing its job.
What pressure should I inflate a golf cart tire to after plugging it?
Inflate to the tire’s normal operating pressure, then leak-check the repair. Most street and all-terrain golf cart tires run about 18 to 22 PSI, while soft turf tires run lower, often 12 to 15 PSI, to protect the grass. The exact figure is molded on the tire sidewall as the maximum pressure, and the correct running pressure is usually a few PSI below that. Never exceed the sidewall maximum.