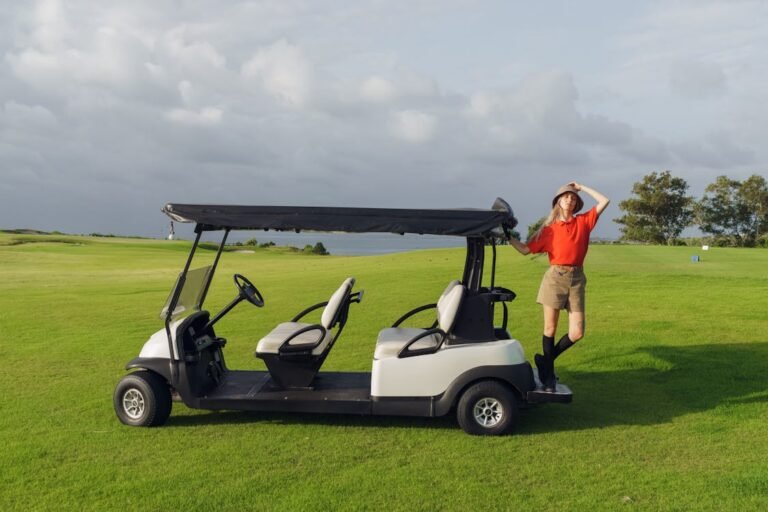
Yamaha G29 Drive Steering Box Play: How to Tighten Loose Steering
That wandering, over-correcting feel on an aging G29 almost never means a whole new steering rack. Here is how to isolate where the slop really is, and take it up at the source.
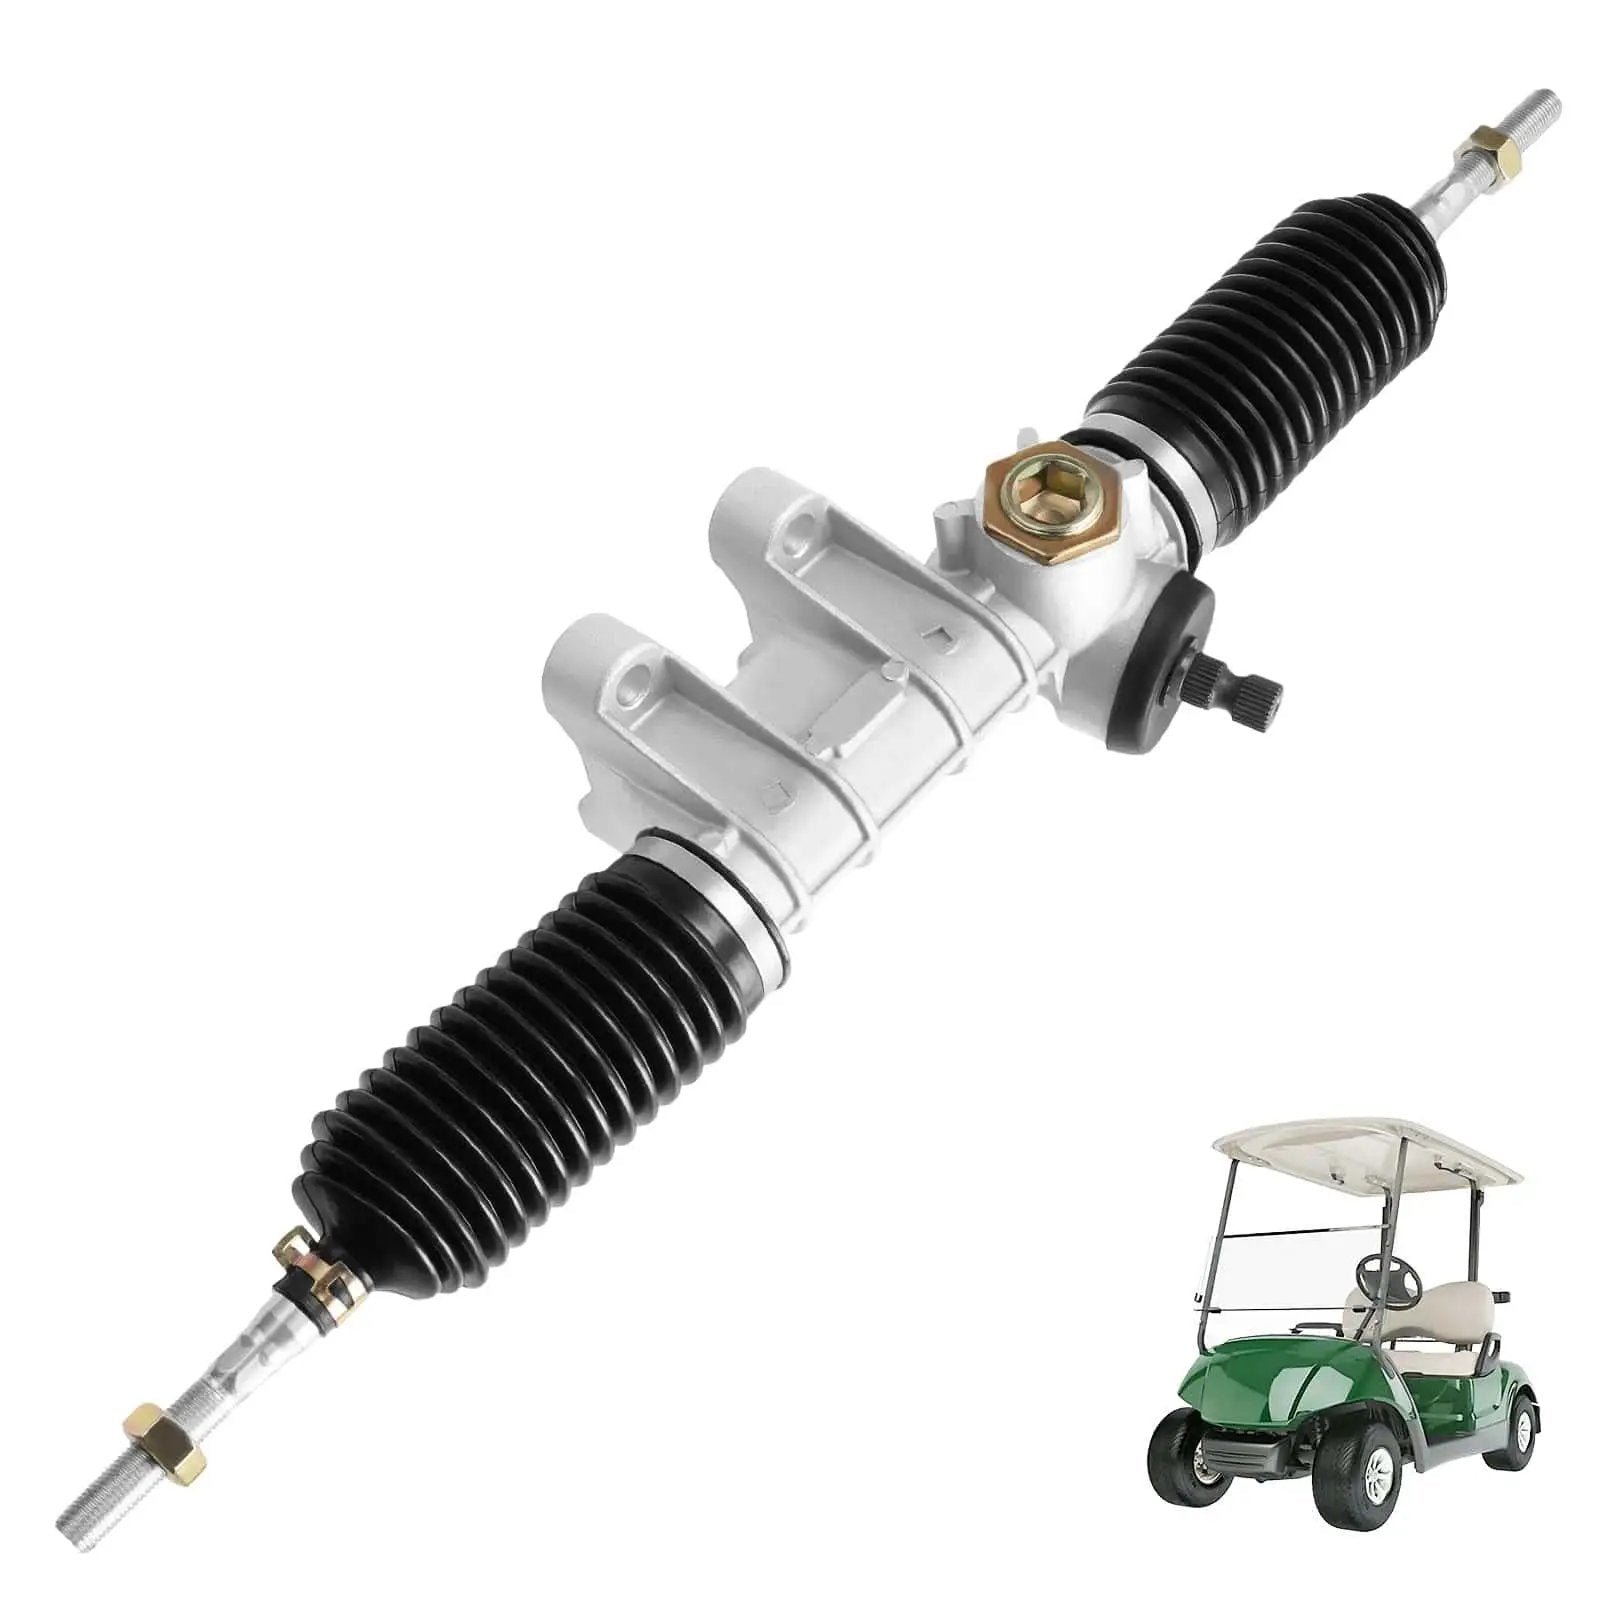
- Loose G29 steering is usually worn tie rod ends, failing steering-shaft u-joints, or slack in the rack-and-pinion gear mesh, not a dead rack.
- Diagnose first with the wheel-rock test so you fix the actual worn part instead of throwing a rack at it.
- Gear-mesh slop can often be taken up by adjusting the rack’s internal tension rather than replacing the whole assembly.
- Only a rack that will not hold adjustment truly needs full replacement.
Safety Warning: Overtightening the steering box tensioner will cause the steering to bind and fail to return to center, creating a massive safety hazard. Small, incremental adjustments are mandatory.
01 : The Failure Pattern: Isolating the Loose Steering
Why does loose steering need a two-person diagnosis? The Yamaha G29, also sold as the Drive, uses rack-and-pinion steering. Movement passes from the steering wheel through the column and shaft joints to the pinion, then through the rack, inner tie rods, outer tie-rod ends, and steering knuckles. Free play at any one joint feels similar from the seat, but tightening the rack cannot repair a loose tie-rod end or worn shaft joint.
| Where movement appears first | What it means | Correct action |
|---|---|---|
| Steering wheel moves, upper shaft does not | Loose wheel hub, nut, or column connection. | Inspect splines and fastener, then torque to the Yamaha manual for the exact year. |
| Upper shaft moves, lower side of a U-joint pauses | Worn or loose steering-shaft universal joint. | Replace the joint or shaft assembly. Do not mask it with rack adjustment. |
| Pinion input moves, rack output pauses | Rack or pinion wear, pressure-pad wear, or incorrect adjustment-cover position. | Inspect the rack assembly using the service procedure. |
| Rack moves, one tie rod or wheel pauses | Inner tie rod, outer tie-rod end, or knuckle joint play. | Replace the worn joint and align toe. |
| Whole rack housing shifts on the chassis | Loose or damaged rack mount or bushing. | Repair the mount and torque the fasteners to the model-year service-manual value. |
02 : Lab Kit & Safe Isolation
Use wheel chocks, a floor jack, and jack stands rated for the cart. Keep the rear wheels on the ground, set the parking brake, switch the key off, and place the tow/run switch in tow when fitted. The useful hand tools are a bright light, paint marker, pry bar, metric sockets and wrenches, and a torque wrench. A helper should rock the steering wheel only through the free-play zone while the front tires remain lightly loaded at first. Loaded joints often reveal play that disappears when the front end hangs in the air.
After the loaded test, raise and support the front frame. Hold each tire at 3 and 9 o’clock and rock it while watching both tie-rod ends. Repeat at 12 and 6 o’clock to separate steering play from wheel bearing or kingpin movement. Never work under a cart supported only by a jack.
03 : Step-by-Step: The Diagnostic Flow
- Mark the input. Put a paint line across each shaft joint and the rack input. Rock the wheel. The first paint line that moves without the next one identifies the loose connection.
- Watch the rack housing. It must stay fixed to the chassis. Housing movement is a mount problem, not gear backlash.
- Watch both rack boots. The rack should begin moving as soon as the pinion input moves. A delayed rack with solid shaft joints points inside the steering gear.
- Load each tie rod. Have the helper rock the wheel while holding an outer tie-rod end. A visible stud jump, torn boot, rough ball motion, or knock means replacement.
- Confirm with the wheels raised. Repeat the 3 and 9 o’clock test. If the wheel moves while its tie rod stays still, inspect the knuckle and hub. If the tie rod moves but the rack does not, inspect the inner joint.
- Center and align after repair. Center the rack, set both tie rods evenly, and measure toe. A crooked steering wheel after a tie-rod change is an alignment issue, not proof that the rack is still loose.
04 : Hardware Fix: Adjusting the Rack Tensioner
The G29 service procedure does not say to keep turning the adjustment cover until steering play disappears. During rack assembly, Yamaha calls for the cover to be turned in until lightly seated and then backed out until the original paint marks align. That is a rebuild reference, not a universal in-cart tightening recipe. Over-tightening can make the rack bind away from center and can accelerate gear wear.
If the movement is at a wheel, hub, kingpin, or chassis mount rather than inside the rack, continue with the broader chassis and suspension diagnostic path before ordering steering parts.
| Published G29 service value | Torque | Where it applies |
|---|---|---|
| Tie-rod end to knuckle arm | 39 N m, 29 lb-ft | Outer tie-rod stud at the steering knuckle. |
| Tie rod to rack gear | 79 N m, 58 lb-ft | Inner tie rod during rack assembly, followed by the specified retainer locking procedure. |
| Steering column bolts | 21 N m, 186 lb-in | Four column mounting bolts in the cited G29 service manual. |
For rack mounting hardware, steering-wheel fasteners, and later Drive2 parts, torque to the Yamaha service-manual specification for the exact model and year. If a value is not published in the manual in hand, do not substitute a generic chart. Confirm by serial and model. Replace any cotter pin, locking retainer, or damaged boot required by the service procedure.
05 : Lab Summary
Fixing Yamaha G29 Drive steering box play is a process of elimination. Never mask worn tie rods by over-tightening the steering rack. If you adjust the tensioner and the steering still feels sloppy, the internal gear teeth are likely worn beyond their service limit, and the entire steering box assembly must be replaced.
For official suspension torque specs, you can reference the Yamaha Golf-Car Company Portal.
Verified Action Plan
Perform the 3-and-9 shake test to rule out bad tie rods. If the play is isolated to the rack, loosen the lock nut, tighten the inner set screw 1/8 turn, and verify the steering sweeps lock-to-lock without binding. Tighten the lock nut and grease the assembly.
Isolate the slop before you spend a dime. Rock the wheel and watch each joint: tighten or replace worn tie rod ends and steering-shaft u-joints first, then take up any remaining rack-and-pinion play at the internal tensioner. Only a rack that will not hold adjustment needs full replacement.
Frequently Asked Questions
How do I fix steering box play on a Yamaha G29 Drive?
First confirm the slop isn’t coming from worn tie rod ends or failing intermediate steering-shaft u-joints, tighten or replace those before touching the rack. If the tie rods and u-joints are solid, the play is inside the rack-and-pinion gear mesh, which you can take up by adjusting the internal tension on the rack rather than buying a whole new assembly.
What causes loose steering on an aging Yamaha G29?
As a G29 ages, play typically develops at the tie rod ends, the steering-shaft u-joints, or in the rack-and-pinion gear mesh. Worn components let the wheel turn slightly before the wheels respond, which feels like wandering or constant over-correction across the path.
Do I need to replace the whole steering rack to fix the play?
Usually not. Many G29 owners replace the entire rack when the real issue is loose tie rods, bad u-joints, or a gear mesh that simply needs tightening. Isolate where the slop actually is first, only an internally worn-out rack that won’t hold adjustment needs full replacement.