Do You Need a Club Car Lithium Voltage Reducer?

- To understand why a reducer is non-negotiable, you must understand the architectural shift from Flooded Lead Acid (FLA) to Lithium Iron Phosphate (LiFePO4).
- Not all voltage reducers are created equal.
- Modern Club Car lithium voltage reducers utilize a 5-wire harness system.
- Club Car engineering presents unique challenges when bypassing the factory harness.
You've just dropped a state-of-the-art 48V lithium battery pack into your Club Car Precedent or Onward. The cart has massive torque, zero maintenance, and weighs 300 pounds less. But before you turn on your headlights, LED under-glow, or sound system, you have to answer a critical electrical question: Do you need a 48V to 12V step-down converter? If you wire 12-volt accessories directly into a 48V lithium pack, they will instantly detonate. This protocol covers everything you need to know about the Club Car lithium voltage reducer.
Why a Club Car Lithium Voltage Reducer is Mandatory
To understand why a reducer is non-negotiable, you must understand the architectural shift from Flooded Lead Acid (FLA) to Lithium Iron Phosphate (LiFePO4).
The End of “Battery Tapping”
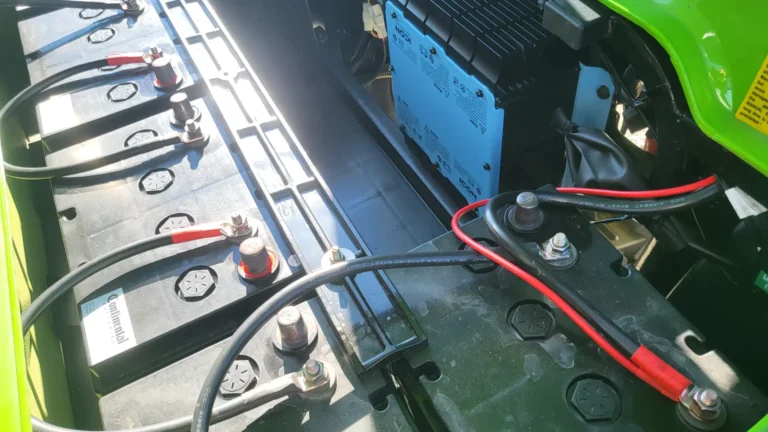
In a traditional Club Car running six 8-volt batteries, lazy mechanics used a technique called “tapping.” They would wire the positive and negative leads of a 12V headlight kit across just one and a half or two 8V batteries to pull roughly 16 volts (which many older halogen bulbs could survive). Or, on 4x 12V setups, they would tap a single battery for exactly 12V.
This was a terrible practice. Tapping drains one battery faster than the rest of the pack, leading to pack imbalance, sulfation, and premature death of the entire battery bank.
The Single Pack Architecture
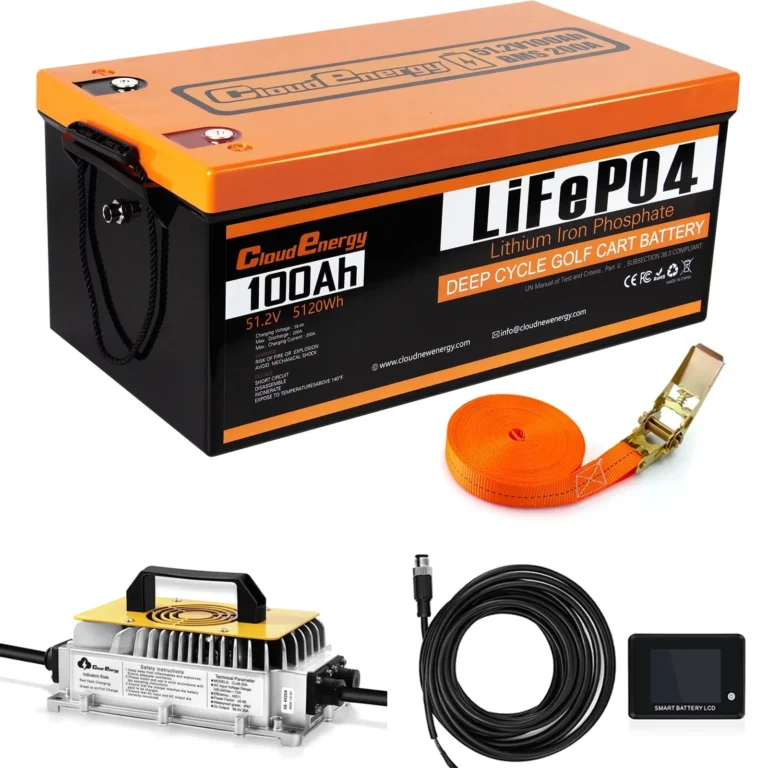
When you upgrade to high-end lithium solutions like Eco Battery, you are replacing the entire bank with one solid block. There are only two main posts: Positive (+) and Negative (-). The voltage coming out of those posts rests at roughly 51.2V to 53V when fully charged.
If you connect a 12V LED light bar or a Bluetooth marine radio directly to 53 volts, the internal capacitors will physically explode within milliseconds. A 48V to 12V step down converter takes that massive voltage and chokes it down to a safe, steady 12-13 volts.
Selecting the Correct Amperage
Not all voltage reducers are created equal. Buying a cheap 10-amp reducer from Amazon will leave you stranded in the dark.
Calculating Your 12V Load
Voltage reducers are rated by Amperage (A). To know how big of a reducer you need, you have to calculate your accessory load. Volts multiplied by Amps equals Watts.
- 10-Amp Reducer: Provides 120 Watts. Enough for basic LED headlights and taillights. If you honk the horn while the lights are on, the lights will dim.
- 20-Amp Reducer: Provides 240 Watts. Good for lights, horn, and turn signals.
- 30-Amp Reducer: Provides 360 Watts. This is the Golf Cart Lab standard. A 30A reducer easily handles LED light kits, under-glow, a dedicated Bluetooth amplifier, and a USB charging hub without breaking a sweat.
One number people forget is inrush current. A Bluetooth amplifier or light bar with big capacitors pulls a brief surge above its steady rating at power-on, so a reducer sized right at your running load can trip at start-up; sizing up to the 30-amp unit gives you headroom. Note too that a genuine lithium pack rests near 53V fully charged, higher than a lead-acid bank at 50.9V, so buy a reducer rated for a 60V input ceiling rather than a marginal 48V-only unit. Still choosing the pack itself? The Lithium Battery Bundle Finder lists the packs that fit your Club Car and shows whether each bundle includes a voltage reducer or needs one added.
How to Wire the 48V to 12V Step Down Converter
Modern Club Car lithium voltage reducers utilize a 5-wire harness system. This is vastly superior to older 4-wire systems.
The 5-Wire Protocol
- Red Wire (48V IN +): Connects directly to the Main Positive terminal of your lithium battery.
- Black Wire (48V IN -): Connects directly to the Main Negative terminal of your lithium battery.
- Yellow Wire (12V OUT +): This is your safe 12V power source. Connect this to the positive block of your 12V fuse box.
- Green/Black Wire (12V OUT -): Connect this to the negative block (ground bus bar) of your 12V accessory fuse box.
- Blue Wire (The Trigger): This is the most important wire. It is the remote turn-on wire. You must route this wire to the switched side of your Club Car’s key switch. When you turn the key OFF, this wire tells the reducer to shut down completely, ensuring it does not phantom-drain your lithium battery over the winter.
Club Car Precedent & Onward Specifics
Club Car engineering presents unique challenges when bypassing the factory harness. For exact wire tracing, always reference the schematics in the Club Car factory specifications.
The OEM Bucket Harness
Many Club Car Precedents have an OEM light kit harness wired into a blue wire in the battery bucket. In factory 48V FLA setups, this harness relied on an older 16V to 12V reducer or utilized 16V bulbs. When installing your new Club Car lithium voltage reducer, you must intercept the power feed to the headlight harness and tie it directly into your new 12V output. Do not run 12V power back through the factory OBC (On-Board Computer) wiring, as the OBC is bypassed during a lithium swap.
The battery bay layout differs between the two carts, which changes where the reducer physically lives. On a 2004-2023 Precedent the reducer usually mounts on the flat shelf beside the single lithium block under the seat, while the 2017-and-newer Onward has a deeper bucket that often lets you tuck the reducer down beside the battery out of the weather. Whichever platform you have, keep the reducer up off the floor of the bay; these bays collect wash water, and a step-down converter sitting in a puddle is the fastest way to corrode the output terminals and lose your accessory power a season later.
Reviewed and updated July 7, 2026 by the Golf Cart Lab team.