
Yamaha Gas Cart Water in Fuel Tank: Drain & Clean Guide
Water sinks straight to the fuel pickup and kills combustion fast. Here’s the full drain, flush, and dry procedure, with real Yamaha tank capacities and fuel pump part references.
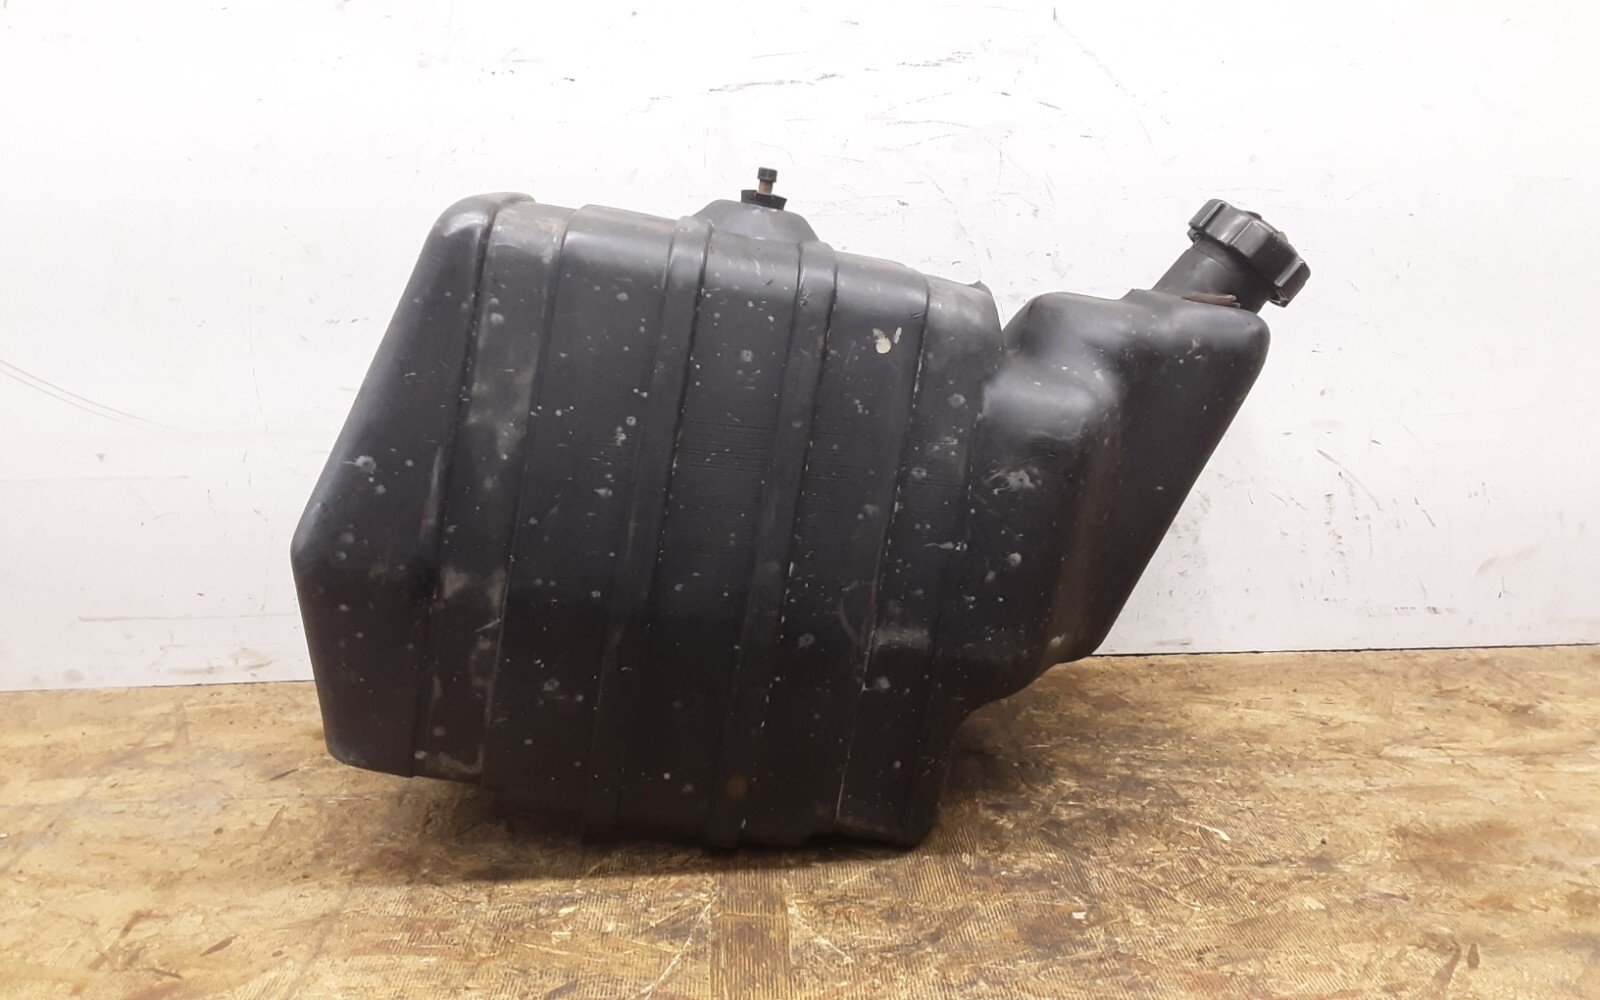
- Water is heavier than gasoline and sinks straight to the fuel pickup, causing a cart to run briefly then die or sputter.
- A partial drain isn’t enough, siphon the tank completely dry, then flush the lines, pump, and carburetor bowl.
- Ethanol-blended fuel can phase-separate, per EPA guidance, creating a water-ethanol layer that sinks to the same spot, drain it, don’t try to treat it in place.
- Isopropyl fuel dryer only handles trace moisture after the mechanical cleanup, it is not a substitute for draining standing water.
A Yamaha gas cart with water in the fuel tank is a fast way to kill an otherwise healthy engine’s combustion. Whether it came from a heavy rainstorm, a pressure wash, or ethanol phase separation in old gas, water sinks straight to the fuel pickup because it’s heavier than gasoline. This guide walks the full drain, flush, and dry procedure, with real Yamaha tank capacities and fuel-pump references so you know exactly what you’re working with.
01. The Physics of Water Contamination
Water and gasoline don’t mix for long. Water is heavier, so it sinks to the lowest point in the tank, which is also where the pickup draws fuel. That’s why a water-in-tank problem often starts as a cart that fires for a few seconds on the fuel already in the line, then sputters or dies as the pump starts pulling from the contaminated bottom layer.
Ethanol fuel adds another wrinkle. EPA phase-separation guidance explains that once enough water enters ethanol-blended gasoline, the separated lower layer contains both water and ethanol. On a small Yamaha tank, that lower layer can be the first liquid sent to the carburetor or EFI pump. If you see beads of water, a cloudy bottom layer, or a sharp line between fuel layers in a clear sample jar, don’t try to treat the whole tank, drain it.
| Yamaha Gas Model | Verified Fuel Tank Capacity | Source |
|---|---|---|
| G16A | 6.3 US gal / 24.0 L / 5.3 Imp gal | Yamaha G16A/G16E owner’s manual |
| G22A | 6.1 US gal / 23.0 L | Yamaha G22A owner’s manual |
| Drive (YDRA) | 5.8 US gal / 22.0 L | Yamaha YDR-A owner’s manual |
| Drive2 EFI PTV (2019 example) | 5.2 US gal / 20.0 L | 2019 Yamaha Drive2 EFI PTV owner’s manual; other years may differ, confirm by serial/model |
02. The Total Siphon and Tank Dry
A partial drain usually leaves the problem behind. Use a hand siphon or fuel-transfer pump rated for gasoline, drain into approved fuel containers, and keep sparks, chargers, cigarettes, and extension cords away from the work area.
- The Tilt Method: chock the wheels, lift only as needed, and angle the cart so remaining liquid gathers at one low corner for the siphon hose.
- The Air Dry: after siphoning, leave the cap off in a safe ventilated area and move air across the filler neck with a cool fan. Never use heat, open flame, or a hot hair dryer near gasoline vapor.
Where the tank sits differs by model, and that changes how you drain it. On the G16 and G22 the plastic tank is under the seat area; Drive and Drive2 tanks are also under the seat, in a different molded shape. Public owner manuals don’t show a bottom drain plug for these tanks, so siphoning through the filler neck and probing the low corner is usually cleaner than removing the tank. If the cart has stale E10 with visible phase separation, dispose of the whole drain batch properly rather than trying to save the top layer.
03. Flushing the Fuel Lines and Pump
After the tank is empty, disconnect the fuel line at the carburetor or throttle-body side and catch the discharge in a clear container. Use gentle air pressure, not shop-line blast pressure, to move liquid out of the line and pump. Replace the inline fuel filter immediately, a paper element that has held water can keep feeding contaminated fuel back into the carburetor.
Fuel-pump references are model-specific. Public parts listings commonly cross-reference carbureted G16 through G22 pumps to Yamaha numbers such as JN6-F4410-00-00 and JF2-24410-20. EFI Drive2 carts use a very different in-tank assembly, with public Yamaha parts diagrams listing J0B-13907-01-00 for a 2019 Drive2 EFI fuel pump component. Verify by serial number before ordering, especially if your cart is EFI rather than carbureted.
04. Carburetor Bowl Evacuation
The carburetor bowl is a small reservoir, so it can stay full of water even after the tank is clean. On carbureted Yamaha G-series and Drive models, place a catch pan under the carburetor and loosen the bowl drain screw or bottom drain fastener enough to empty the bowl. If the first liquid is clear beads or cloudy fuel, keep draining until fresh gasoline reaches the bowl after the tank and lines are clean.
A public Yamaha carburetor bowl drain-bolt torque spec wasn’t found in the owner manuals used for this update. Treat the drain as a small carburetor fastener: snug it gently, don’t crush the bowl, and use the service manual for your exact carburetor if the screw or gasket was removed. EFI Drive2 carts don’t have a carb bowl, for those, the equivalent step is clearing the contaminated tank, filter, line, and EFI pump module as the service diagram requires.
05. Isopropyl Alcohol Treatment
Once the system is mechanically dry, an isopropyl-based fuel dryer can help with trace moisture in the first refill. It cannot remove standing water from the tank, and it cannot reverse ethanol phase separation once a lower ethanol-water layer has formed. Use it as a final polish after draining, not as the repair.
Use an isopropyl-based fuel dryer specifically, not a random solvent, and follow the bottle’s dose. Too much alcohol can make a carbureted Yamaha harder to start. Yamaha owner manuals also warn against gasoline with more than 10 percent ethanol on the Drive manuals checked for this update. Refill with fresh non-ethanol fuel when practical, or fresh E10 from a busy station if that’s all your area sells.
Drain the tank completely, flush the fuel lines and pump gently, replace the filter, drain the carburetor bowl if equipped, then refill with fresh fuel. Use isopropyl fuel dryer only for trace moisture after the mechanical cleanup, not as a substitute for draining standing water.
Frequently Asked Questions
How do I know if there is water in my Yamaha gas cart fuel tank?
Common signs are a cart that starts briefly then dies, surging, sputtering, water beads in a drained fuel sample, or cloudy fuel from the bottom of the tank. Water sinks below gasoline, so sample from the lowest point.
Can water in the fuel tank damage a Yamaha golf cart engine?
Yes. Water can stop combustion, corrode fuel-system parts, and carry debris into the carburetor or EFI pump. If the engine ingested water-contaminated fuel, drain the tank, lines, pump, and carburetor bowl before running it.
What additive removes water from gas in a Yamaha golf cart?
Isopropyl alcohol fuel dryer can help with trace moisture only. It will not fix a tank with visible water or ethanol phase separation. Drain bulk water first, then refill with fresh fuel.
How much fuel does a Yamaha gas golf cart tank hold?
Owner manuals list about 6.3 gallons for G16, 6.1 gallons for G22, 5.8 gallons for YDRA Drive, and 5.2 gallons for some Drive2 EFI PTV models. Confirm by model and year.
Should I replace the Yamaha fuel pump after water contamination?
Not automatically. Flush it first on carbureted carts and verify fuel flow. Replace it if it will not move clean fuel, leaks, or is an EFI in-tank assembly that tests bad by the Yamaha parts diagram for your serial number.
